
Today I’m linking up with Amy’s Free Motion Quilting Adventures Ruler Work Rocks – A Link Party. I have been following Amy for a few years and really wanted to try the rulers, but my Pfaff Quilt Expression (QE) 4.0 didn’t have a ruler foot. Finally last year, Westalee made one for my machine so I took Amy’s Craftsy class, Master Machine Quilting with Rulers! I practiced a little, then I used the rulers on these two quilts last fall:

Atlantic Flyway

Cozy Afternoon Tea at the Cottage
I have shown both of the quilts before here, but today, I’m going to show more details of the ruler (or template) work in each one.

This is a picture of the ruler foot attached to my QE 4.0. I do need to adjust the needle position to the right until the needle is in the center. I don’t know if I’m not getting the foot on correctly, but it’s the same amount each time and it quilts alright. This was October’s Minis and More quilt. I used the Westalee 12″ Arc/Straight Template to make the curved flower shape in the basket and the diamond in the sashing
The first quilt that I did ruler work on was The Atlantic Flyway, pattern by Deb Tucker.

I started by quilting in the ditch around the star and the flying geese. For this quilt, I only had the template set that came with the ruler foot. I used the Westalee circle template to make the center of my flower, then used the Westalee 12″ Arc/Straight to make the flower petals. I quilted on the inside and outside of the star points which gave me a nice overlap to quilt some graduated circles. I also did pebbling inside the center circle. Just a note, I do switch to my open toe free motion foot when I’m not using rulers. It is easier for me to see what I’m doing and where I am going with it on.

Then I quilted arcs on both sides of the flying geese. The template wasn’t quite long enough to go from point to point on the outside edge of the geese, so I moved it as I went around the geese circle and into the sashing strip. Next, I added 1/2 ” curved cross-hatching on the inside of the star points. For the corner section, I used the arc to make my first line in the corners, then echoed 1/4 ” away. I used 1/2 ” curved cross-hatching in the corners, fudging a little to get to the centers.

I drew a lot of different designs for the outside geese. I stared at it and couldn’t quite decide what I wanted to do. I finally decided on the curved arcs outside of the geese. Then I quilted a feathered fan inside each of the geese.
I used the straight edge of the ruler in the boarder. You can still see a little bit of my white pencil where I had to mark the lines inside the triangle because the spacing didn’t match the template marks.
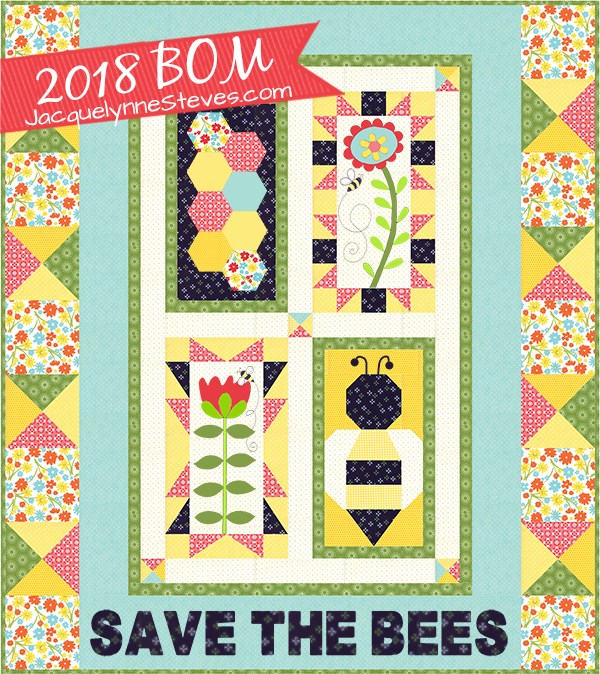
This post is getting long, but I hope you’ll stick with it because I want to show you some of the work I did on the Cozy Afternoon Tea at the Cottage quilt. This was the 2015 Cozy Afternoon Block of the Month by Jacqulynne Steves. By the time I was ready to quilt it, I had added the 12″ QP Curve by Linda Hrcka and the 8″ Arc by Westalee, which I bought from Amy’s shop.

For each applique block, I used the 12″ Westalee Arc/Straight Template to quilt an arc from point to point on the outside of the center applique piece. I carried my swirl quilting out into the arc, then used the arc as the stem for a feather circle. I also used that template to quilt the curved cross-hatching in the corners of each block.


By this time, Amy was working on her sampler quilt. I liked how she quilted the large setting triangle using two arcs, then quilted straight cross-hatching on the inside. So I duplicated it. Thank’s Amy for the idea. The spacing is 1/2″ although I wish I had used 3/4″ instead, but I wasn’t going to rip it all out. The corner triangles are quilted with 1/2 ” curved cross-hatching. I used the 12″ QP Curve because the triangles were so large.
You can really see the quilting better on the back, especially in the solid pieces.

I would like to thank Amy for hosting the Ruler Work Rocks – Link Party. I’ve learned a lot from reading her blog, watching her YouTube videos and now her Craftsy class. Please check her out.
Thanks for stopping by and I hope you will take up the challenge to use rulers on your domestic machine.


Brenda – thanks for the detailed info on how you incorporated rulers into your quilting. Seeing how you and Amy and others do this helps me understand how to try it on my own projects.
LikeLike
Fabulous! And what a wonderfully detailed description of how you used your rulers. Thanks for participating.
LikeLike
Thanks for sharing your beautiful quilts with us. I too have been following Amy’s blog and learning to use the rulers and samples she has shared with us. Now to use these wonderful techniques on a real quilt this spring ~ enough practice. Your quilts will be my inspiration:)
LikeLike
Thank you for your kind words. My practice pieces don’t have any seams, so until you do it on a real quilt, you don’t always get the real feel of moving the quilt around. I hope you enjoy it like I do.
LikeLike
Thank you for sharing your beautiful quilts with us. They are great inspiration for me to move beyond my practice pieces to using my rulers on a quilt. I too have loved learning from Amy’s blog, you tube videos and class. She’s the best.
LikeLike
What gorgeous quilts with ruler work and FMQ! It is so inspiring to see you lovely quilts completed with ruler quilting!
LikeLike
Pingback: February Minis and More Finish A Long | The Quilting Nook